AutoGen - First Contact
- Max Matysiak
- Data , Ml , Open ai , Llm
- November 1, 2023
What is AutoGen?
AutoGen is a framework designed for developing LLM applications that utilize multiple conversable agents to solve tasks, with features allowing seamless human interaction. Developed through a collaboration between Microsoft, Penn State University, and the University of Washington, AutoGen streamlines the orchestration of complex LLM workflows, offers advanced inference capabilities, and supports a variety of conversation patterns across diverse applications. This innovative tool maximizes LLM performance while also providing developers with pre-built systems spanning different domains and complexities.
It uses OpenAI as an default endpoint. But it can be configured to use other LLMs as well.
Installing AutoGen
The short awnser:
AutoGen is available as a Python package on PyPI. To install, run the following command:
pip install autogen
The correct answer: You probably want to install AutoGen in a virtual environment, a docker container or something similar. The following instructions assume you are using a docker container.
Installing Docker
Docker is a container platform that allows you to run applications in a sandboxed environment. One can install docker through the following commands:
Linux
sudo apt-get update
sudo apt-get install docker
Mac
brew install --cask docker
This installs the Docker Desktop application.
Defining a Dockerfile for AutoGen
To define the docker container, we first need to create a Dockerfile.
The following defines a container with python 3.8 and installs all the requirements defined in the requirements.txt file.
FROM python:3.8

WORKDIR /usr/src/app

COPY requirements.txt ./
RUN pip install --no-cache-dir -r requirements.txt

COPY . .
For the requirements.txt file, we need to define the following:
autogen
Furthermore we define a compose.yml file to define the container.
services:
  auto_gen:
    build: .
    env_file:
      - .env
      - .env.local
    tty: true
    stdin_open: true
We can now build the container with the following command:
docker compose build
Connecting to the OpenAI API
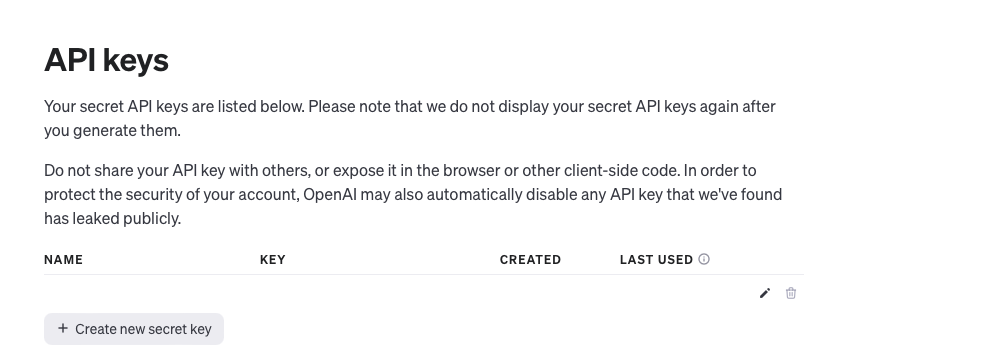
We now have all the requirements to run AutoGen. However, we still need to connect to the OpenAI API. For this we first need to gather the API key from the OpenAI website.
Note: You need to have an OpenAI account to do this and the API usage is not free.
You can find your API key on the OpenAI website .

Just create a new API key or use an existing one.
You know need to save this API key in a file called .env in the root of your project.
(Or you can export it as an environment variable)
The .env file should look like this:
OPENAI_API_KEY=The API key you just created
Check Autogen FAQ to see other ways to connect to the OpenAI API.
A first test
Inspired by the AutoGen Example we can now create a first test.
from autogen import AssistantAgent, UserProxyAgent, config_list_from_dotenv
# Load LLM inference endpoints from an env variable or a file
# See https://microsoft.github.io/autogen/docs/FAQ#set-your-api-endpoints
# and OAI_CONFIG_LIST_sample
config_list = config_list_from_dotenv(
    dotenv_file_path='.env.local', # If None the function will try to find in the working directory
    filter_dict={
        "model": {
            "gpt-3.5-turbo"
        }
    }
)


# You can also set config_list directly as a list, for example, config_list = [{'model': 'gpt-4', 'api_key': '<your OpenAI API key here>'},]
assistant = AssistantAgent("assistant", llm_config={"config_list": config_list})
user_proxy = UserProxyAgent("user_proxy", code_execution_config={"work_dir": "coding"})
user_proxy.initiate_chat(assistant, message="Plot a chart of NVDA and TESLA stock price change YTD.")
# This initiates an automated chat between the two agents to solve the task
Save this code in a file called test.py in the root of your project.
We can run this code in our docker container with the following command:
docker compose exec auto_gen python test.py
This should give you the following output:
user_proxy (to assistant):

Plot a chart of NVDA and TESLA stock price change YTD.

--------------------------------------------------------------------------------
assistant (to user_proxy):

To plot a chart of NVDA and TESLA stock price change Year-to-Date (YTD), we can use the `yfinance` library in Python. This library allows us to easily download stock data from Yahoo Finance.

....
Congratulations! You have now successfully installed AutoGen and connected to the OpenAI API. And you have run your first test.
